

Homemade Oreo Cookies {Allergy Friendly}

Homemade Oreo Cookies {Allergy Friendly}
Looking for that perfect copycat Oreo recipe that fits into your allergy-friendly needs? Here you have a Homemade Oreos Cookies recipe, an Allergy-Friendly sandwich that tastes just as good as the real thing! Vegan, gluten-free, soy-free, dairy-free (if you use dairy-free milk specified below), and nut-free!
Learn how to make your own Oreo sandwich cookies that are allergy-friendly and never feel deprived again. No need to keep hunting and searching for expensive store-bought varieties.
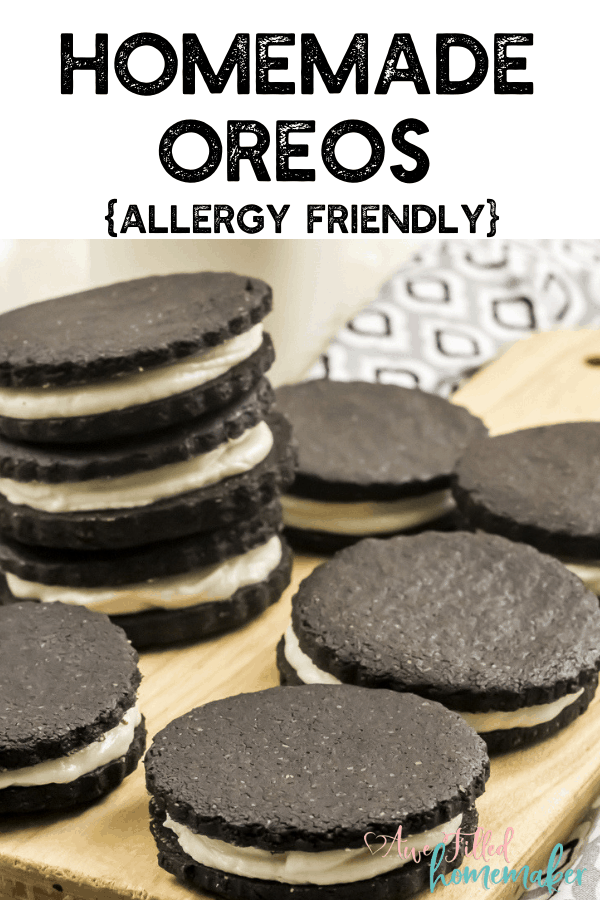
We recently had some food changes in our home due to some allergies from one of our children. It was an adjustment period for sure, but I now feel I am able to recreate the foods he loves. One of his favorites is Oreo cookies!

Even more Allergy-Friendly Recipes
- Instant Pot Teriyaki Chicken and Noodles (gluten and soy free)
- Instant Pot Apple and Butternut Squash Soup (allergy friendly – vegan)

The Tastiest Allergy Friendly Homemade Oreo Cookie
We live in a world where so many people struggle with allergies. Because food allergies are so common, we have so many amazing foods at our fingertips. You can find a variety of flours to replace white or wheat flour with.
It is so incredible that I can play in the kitchen and create a tasty cookie that resembles and tastes similar to an Oreo that follows gluten-free guidelines.
A crunchy chocolate cookie with a sweet cream filling is what you get with this recipe! The beauty of this recipe is it is simple and straightforward. Make your chocolate cookies, bake and let cool. Then whip up the cream filling and sandwich two cookies together. Easy peasy and delicious down to the last crumb!

Easy Allergy Friendly Oreos
Although you can purchase variations from your local store (or health food store) that meet allergy needs such as gluten-free, but at what price? I have tried a few and, I hate to say it, but they just weren’t that good. Some were chalky tasting and left an uneasy residue in my mouth. Not to mention the price you pay for a small package of cookies.
I knew there had to be an easier way that met our flavor needs and was more affordable! Make them regular or double stuffed, you can never go wrong with more filling!
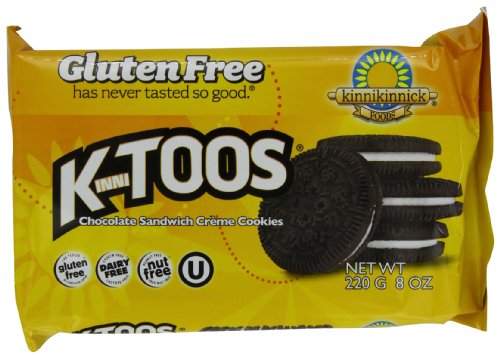
KinniToos Gluten Free Cookies, Chocolate Sandwich Creme, 8 Ounce (Pack of 6)
No-Fail Oreo Allergy Friendly Cookies
I opt to use oat flour that is certified gluten-free. I feel it gives me the best taste and texture with these cookies. I don’t feel like I’m being deprived of texture or taste. I know there are a ton of different gluten-free flours on the market these days, this is just the one that I have had the best success with.
Once I’ve created a batch of cookies, I store them in the fridge. If you have ever had a cold Oreo cookie, you know how good it is chilled. It gives the filling a firmer taste and you can slowly feel the creamy filling melt in your mouth! Once you have a chilled Oreo, you’ll never go back to storing them in the pantry!
I remember as a kid seeing my Lunchable had a cookie inside. The cookie was chilled and was quite rewarding when eaten! Now I have a cookie that fits our exact needs that I feel safe about serving to our kids, especially my baby with the soy allergy.
Allergy-Friendly Homemade Oreo Cookies
Makes – 18 sandwich cookies
Ingredients
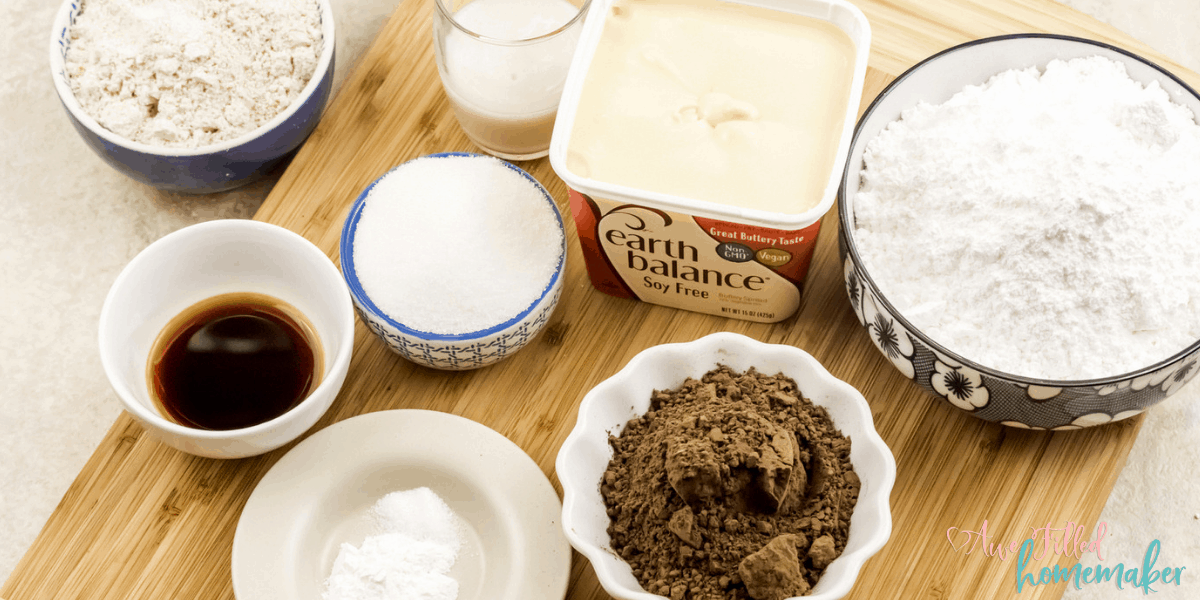
For the cookies
- 2 cups of Oat Flour (make sure it is certified gluten-free)
- ½ cup of Dutch Processed Cocoa Powder Be careful which brand you get. Some have soy in them!
- 1 teaspoon of Baking Powder
- ½ teaspoon of Salt
- ½ cup of Sugar we use an alternative called pyure
- ¼ cup of Milk of Choice (Coconut, Almond or Rice Milk)
- ½ cup of Soy-Free Vegan Butter softened
- 1 tablespoon of Pure Vanilla Extract
For the Frosting
- ½ cup of Soy-Free Vegan Butter softened
- 3 cups of Confectioner’s Sugar
- 1 tablespoon of Water or Milk
Allergy-Friendly Food for Families: 120 Gluten-Free, Dairy-Free, Nut-Free, Egg-Free, and Soy-Free Recipes Everyone Will EnjoyAllergy-free Desserts: Gluten-free, Dairy-free, Egg-free, Soy-free, and Nut-free DelightsThe Allergy-Free Pantry: Make Your Own Staples, Snacks, and More Without Wheat, Gluten, Dairy, Eggs, Soy or Nuts



Instructions
For the cookies
1) Preheat the oven at 350 F and line two large cookie sheets with parchment or silicone liner.
2) In a bowl, sift together the oat flour, cocoa powder, baking powder, and salt. Keep aside.
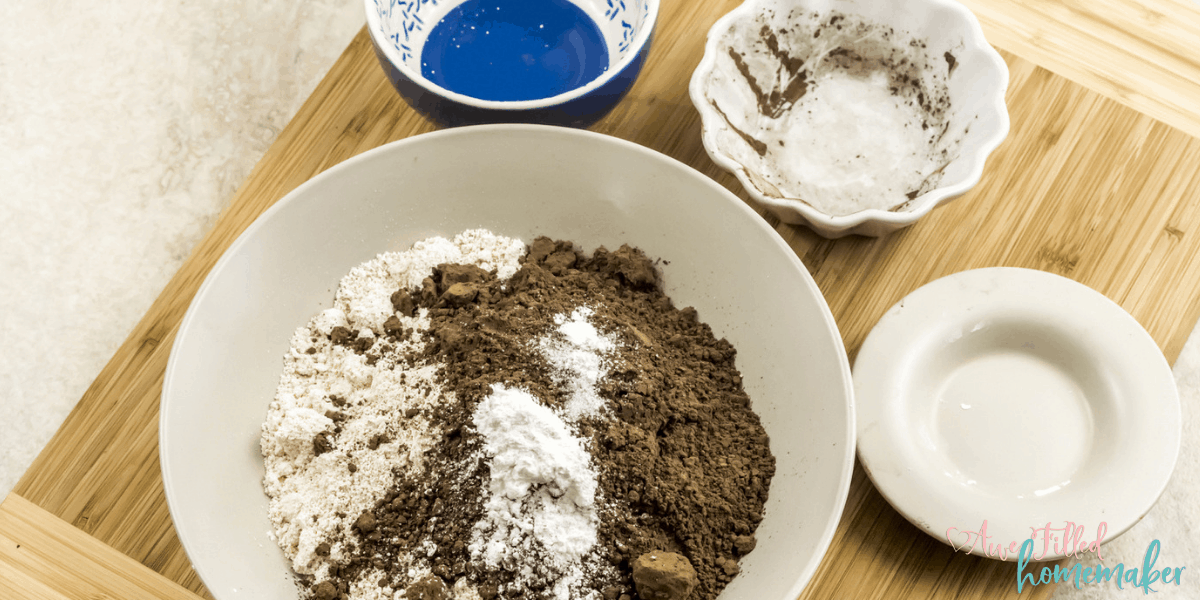
3) Using an electric beater, cream the vegan butter along with sugar, milk, and vanilla extract for 2 minutes, or until the sugar dissolves.
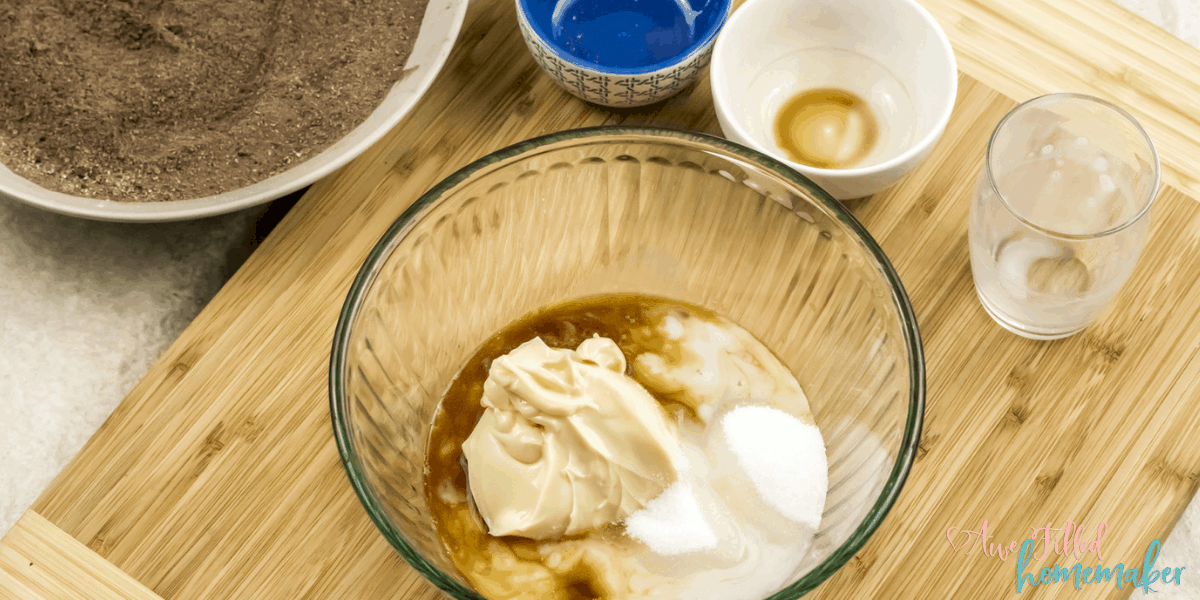

4) Slowly add the cocoa flour mix to it and gently fold it in. The dough will be very sticky. Cover and let it chill in the fridge for 1 to 2 hours.
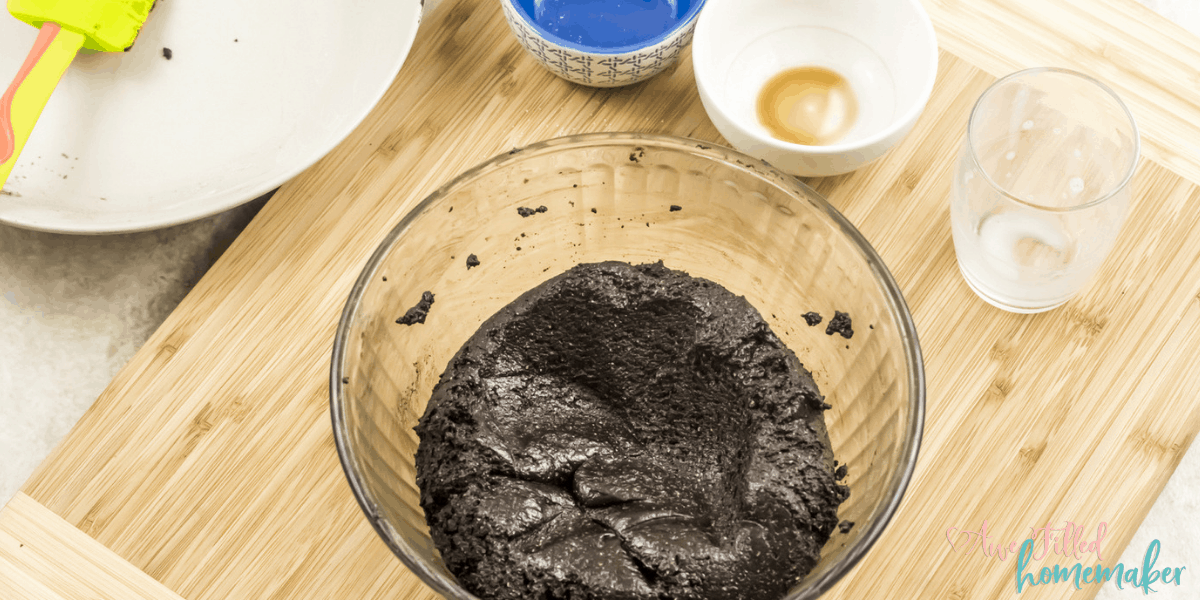
5) Place the chilled dough between two large pieces of parchment paper. Roll the dough into a large circle with a thickness of ¼ inch.
6) Using a 2½ inch cookie cutter, cut as many circles as you can. Very carefully transfer it to the prepared cookie sheet.
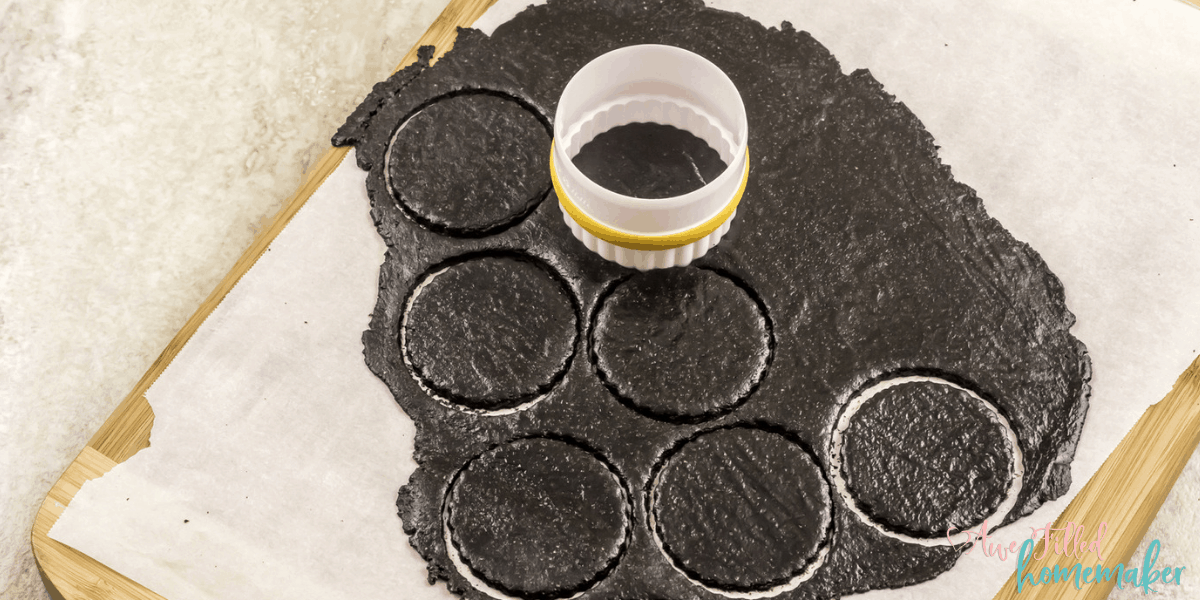
Because the dough is gluten-free, it might break easily. If it is too delicate, chill it again in the freezer for 10 minutes. It will be a lot easier to transfer. Re-roll the dough and again cut as many circles as you can. We finished with 36 circles.
7) Bake the cookies at 350 F for 10 minutes. Let it cool in the pan for 10 minutes before transferring it to a wire rack to cool completely.
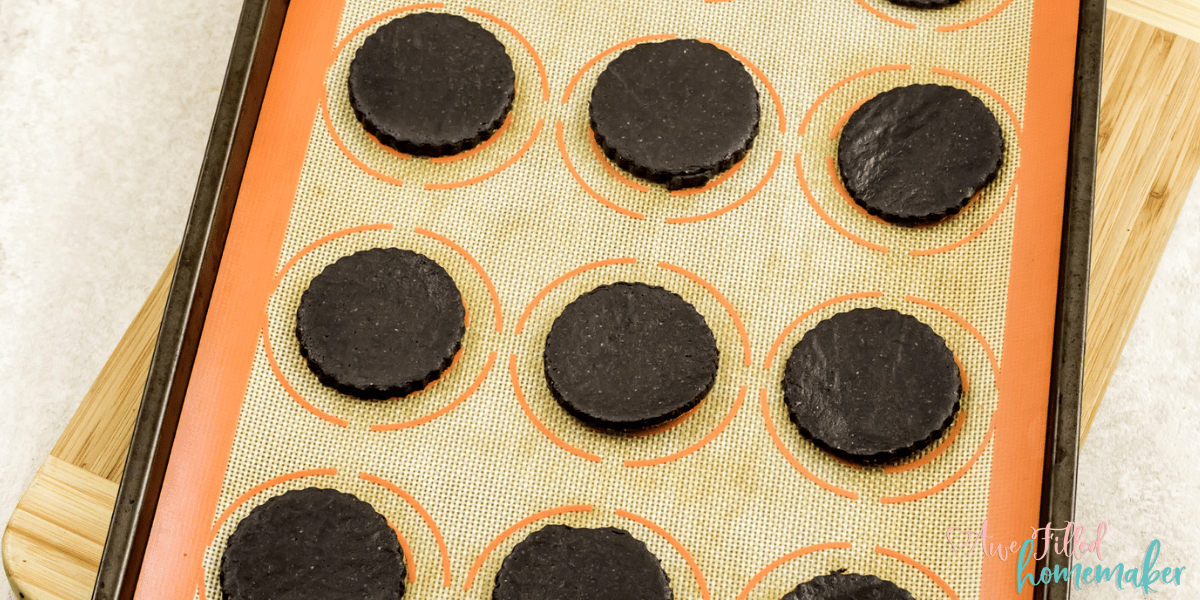
8) Let the cookies cool completely before adding the filling.
For the Frosting
1) Using an electric beater or a stand mixer, cream the softened soy-free vegan butter for a minute.
2) Add the confectioner’s sugar, vanilla extract, and milk and beat for another 2 to 3 minutes until smooth and fluffy.
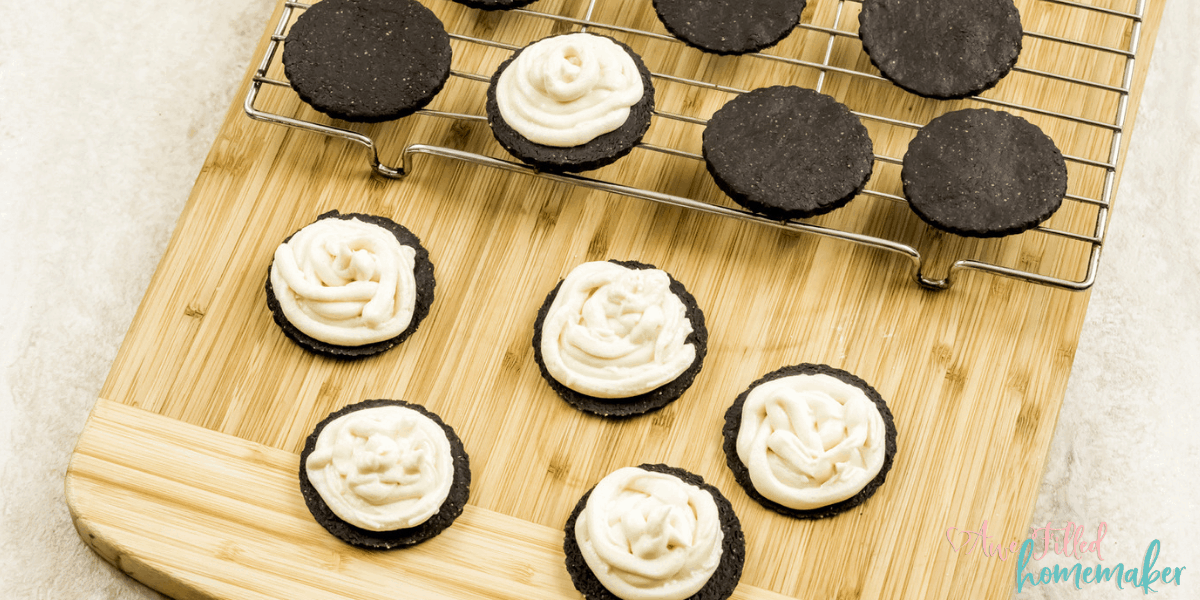
3) Pour the frosting into a piping bag fitted with a round tip.
To assemble
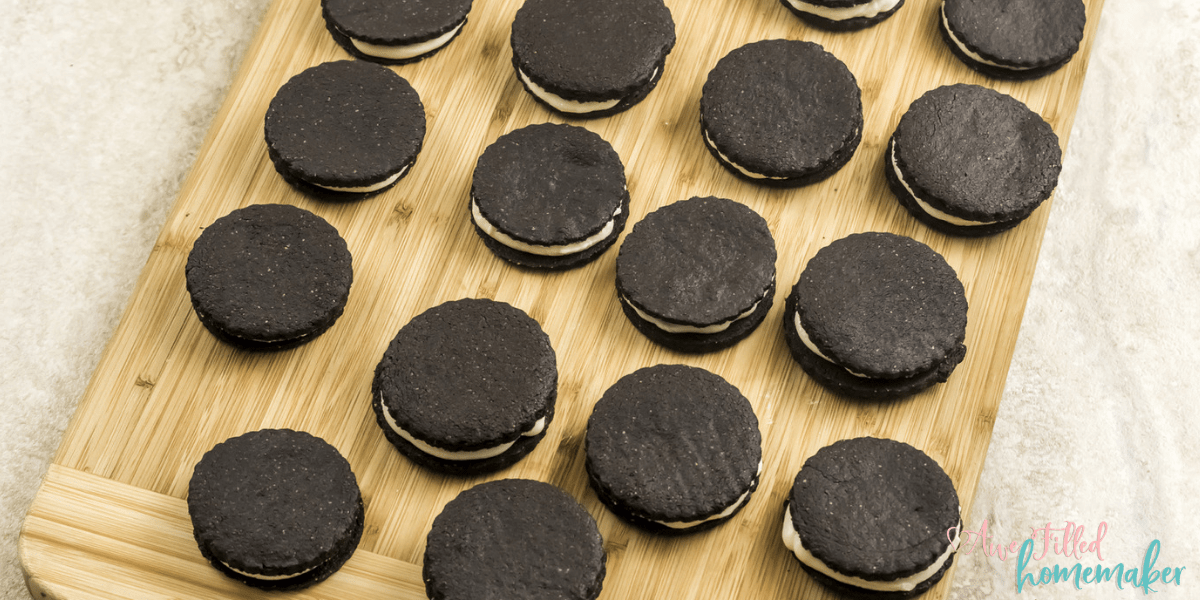
1) Add a generous amount of the frosting onto one cookie and then top with another cookie to create a cookie sandwich. Repeat with the remaining cookies.
2) Store the leftover frosting in an airtight container in the fridge.
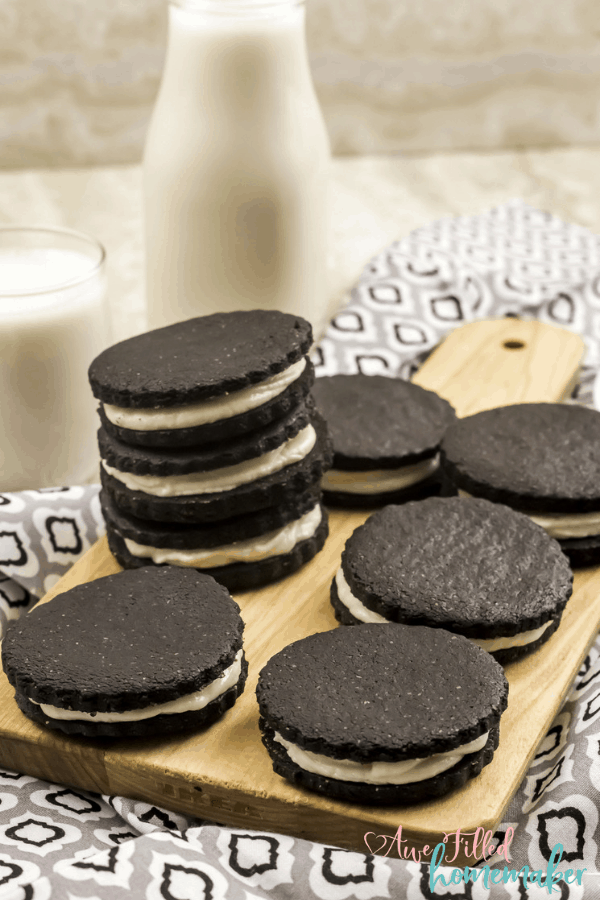
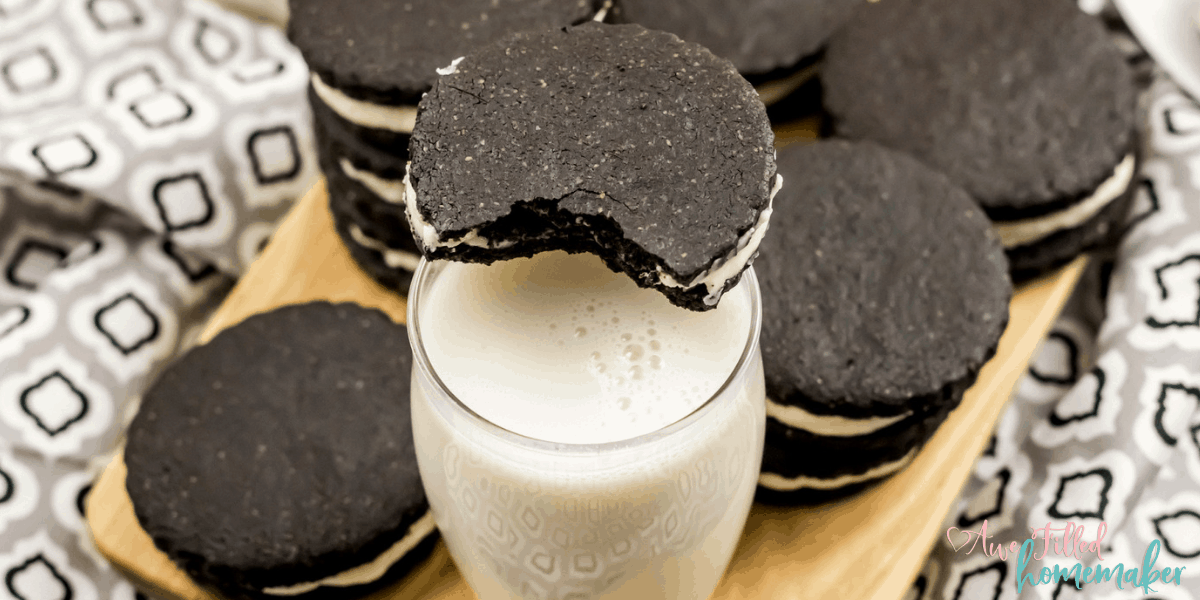
So there you have it! A super easy recipe that follows your allergy needs for an Oreo sandwich cookie. Once you make these cookies, I think you will see how easy the process is and you will begin making them more often!
Of course, remember moderation and even consider freezing some of the cookies for later! That way you don’t feel inclined to eat them all right away. Unless you’re my husband and my youngest son. Moderation is not in their vocabulary when it comes to cookies and milk.
Before I get to the printable recipe card, let us talk about social media. I would LOVE LOVE LOVE it if you would follow me on my social channels and subscribe to my blog! I won’t spam you to death – I promise! You can elect to only receive Instant Pot or recipe emails! I would love to have you follow me on my page here. Don’t forget my group, too that I mentioned above! I have a few other groups also. If you’re interested in the list, you can find that right here. I can also be found on Pinterest! You also might find me lurking around Twitter sometimes and Instagram! One other forgotten social media place that I am enjoying recently is google+ and lastly….youtube!
Also….I have an air fryer group too! So don’t miss that!
Don’t Forget to Print the Recipe Out For Later!

Homemade Oreos Cookies {Allergy Friendly}
Learn how to make your own Oreo sandwich cookies that are allergy friendly and never feel deprived again.
Ingredients
- For the cookies:
- 2 cups of Oat Flour make sure it is certified gluten free
- ½ cup of Dutch Processed Cocoa Powder Be careful which brand you get. Some have soy in them!
- 1 teaspoon of Baking Powder
- ½ teaspoon of Salt
- ½ cup of Sugar
- ¼ cup of Milk of Choice Coconut, Almond or Rice Milk
- ½ cup of Soy Free Vegan Butter softened
- 1 tablespoon of Pure Vanilla Extract
- For the Frosting:
- ½ cup of Soy Free Vegan Butter softened
- 3 cups of Confectioner’s Sugar
- 1 tablespoon of Water or Milk
Instructions
For the cookies
- Preheat the oven at 350 F and line two large cookie sheet with parchment or silicone liner.
- In a bowl shift together the oat flour, cocoa powder, baking powder and salt. Keep aside.
- Using an electric beater, cream the vegan butter along with sugar, milk, and vanilla extract for 2 minutes, or until the sugar dissolves.
- Slowly add the cocoa-flour mix to it and gently fold it in. The dough will be very sticky. Cover and let it chill in the fridge for 1 to 2 hours.
- Place the chilled dough between two large pieces of parchment paper. Roll the dough into large circle with a thickness of ¼ inch.
- Using a 2½ inch cookie cutter, cut as many circles as you can. Very carefully transfer it to the prepared cookie sheet. Because the dough is gluten free, it might break easily. If it is too delicate, chill it again in the freezer for 10 minutes. It will be a lot easier to transfer. Re-roll the dough and again cut as many circles as you can. We got 36 circles.
- Bake the cookies at 350 F for 10 minutes. Let it cool in the pan for 10 minutes before transferring it to a wire rack to cool completely.
- Let the cookies cool completely before filling it.
For the Frosting
- Using an electric beater or a stand mixer, cream the softened soy free vegan butter for a minute.
- Add the confectioner’s sugar, vanilla extract and milk and beat for another 2 to 3 minute, until smooth and fluffy.
- Pour the frosting into a piping bag fitted with a round tip.
- To assemble
- Add a generous amount of the frosting onto one cookie and then top with another cookie to create a cookie sandwich. Repeat with the remaining cookies.
- Store the leftover in an airtight container in the fridge.


