

DIY Instant Pot Crayons

DIY Instant pot crayons
When you read the title of this post you may have wondered if your eyes were deceiving you. DIY instant pot crayons? This blogger must be a little cray cray. LOL! I’m always looking for things to add creativity into our homeschool.
Join: Awesome Recipes, Awe Filled Homeschool Connect, and Awe Filled Homemaker on Facebook!
IN addition to instant pot crayons, I also enjoy putting together DIY gifts with my kids. I am usually not crafty. Although there are some things I am okay with, my husband often does the crafts with the kids. However, it’s my mother who does countless art projects with the kids when she visits.
Not long ago I shared a DIY Christmas gifts post. One of the gifts I shared was how to make crayons in the oven.


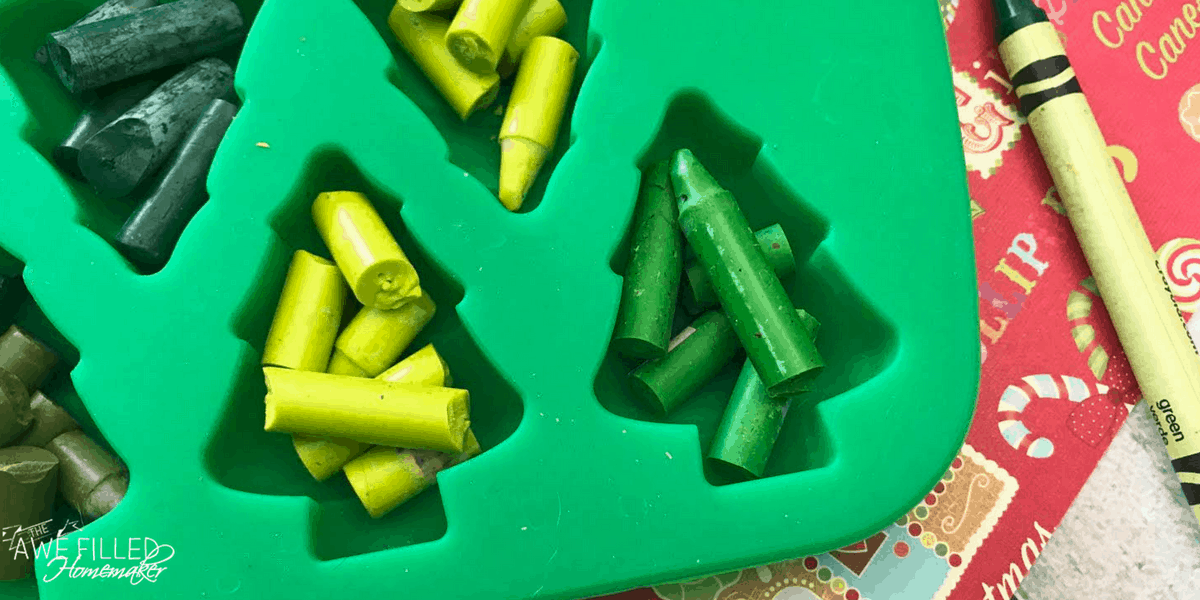
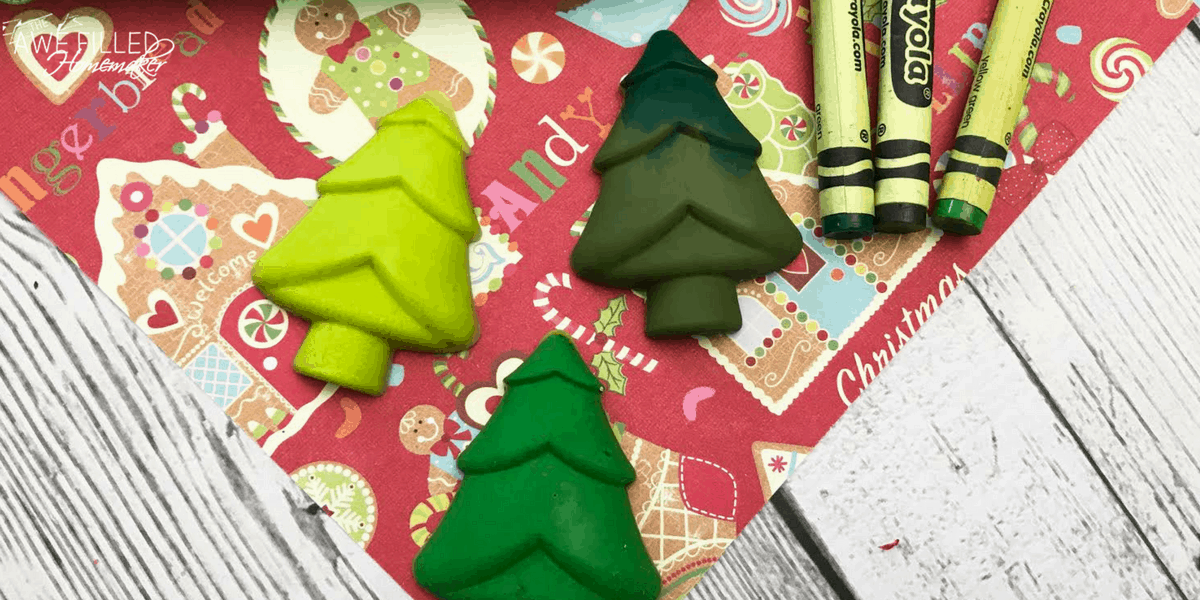
After I put together that post, the homeschool mom in me was kicking myself! Why didn’t I try to make instant pot crayons first? And here we are. I am super excited to share with you a creative project using the Instant Pot.
Based on some of my previous creative recipes for the Instant Pot, you all know by that I like to think outside the box! Here are some of my most popular creative posts:
So it only makes sense for me to have to come up with a crayon project, right? This was fun and since we had previously made the chapstick, one kid also wanted to do a chapstick crayon! You can read more in the note section about the benefits of this type of crayon!
If you are crafty, have kids, or would like to make your own DIY crafts for gifts or your own use, here is how I did it!!!
Before I get to the recipe…lets talk social media. I would LOVE LOVE LOVE it if you would follow me on my social channels and subscribe to my blog! I won’t spam you to death- I promise and you can elect to just get instant pot or recipe emails!
I would love to have you follow me on my page here. Don’t forget my group too that I mentioned above! I have a few groups also. If you’re interested in the list, you can find that right here. I am on Pinterest…love love love Pinterest!
You also might find me lurking around twitter sometimes and instagram! One other forgotten social media place that I am LOVING recently…google+ and lastly….you tube!
Items Needed For Instant Pot Crayons
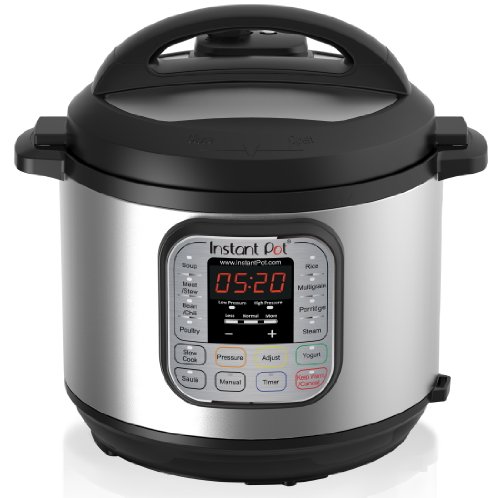
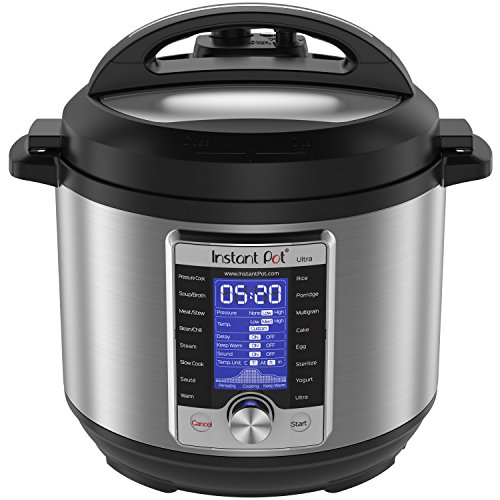
First thing you need of course is an Instant Pot! If you don’t have one- here are a few I have and love!
Instant Pot DUO60 6 Qt 7-in-1 Multi-Use Programmable Pressure Cooker, Slow Cooker, Rice Cooker, Steamer, Sauté, Yogurt Maker and Warmer Instant Pot Ultra 6 Qt 10-in-1 Multi- Use Programmable Pressure Cooker, Slow Cooker, Rice Cooker, Yogurt Maker, Cake Maker, Egg Cooker, Sauté, Steamer, Warmer, and SterilizerInstant Pot Duo Mini 3 Qt 7-in-1 Multi- Use Programmable Pressure Cooker, Slow Cooker, Rice Cooker, Steamer, Sauté, Yogurt Maker and Warmer

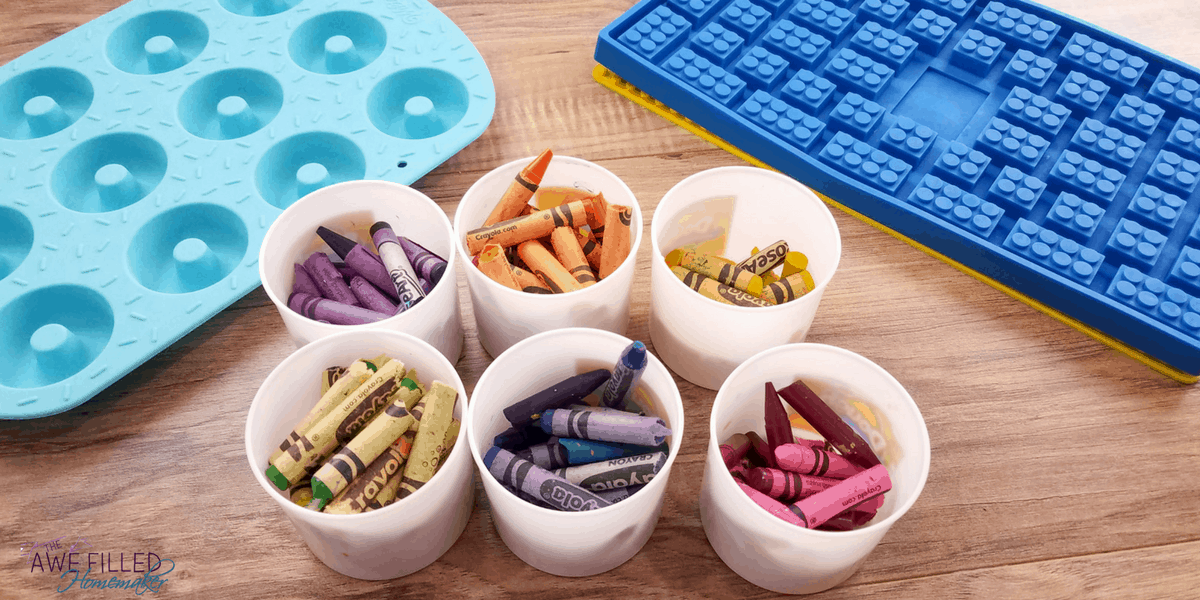
- small plastic cups (like kid cups from restaurants or playdough containers)
- broken crayons (no need to remove the paper) If you are like us, this is easy to come by with 3 kids constantly breaking crayons!
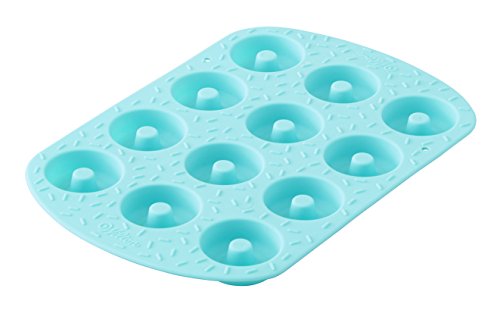
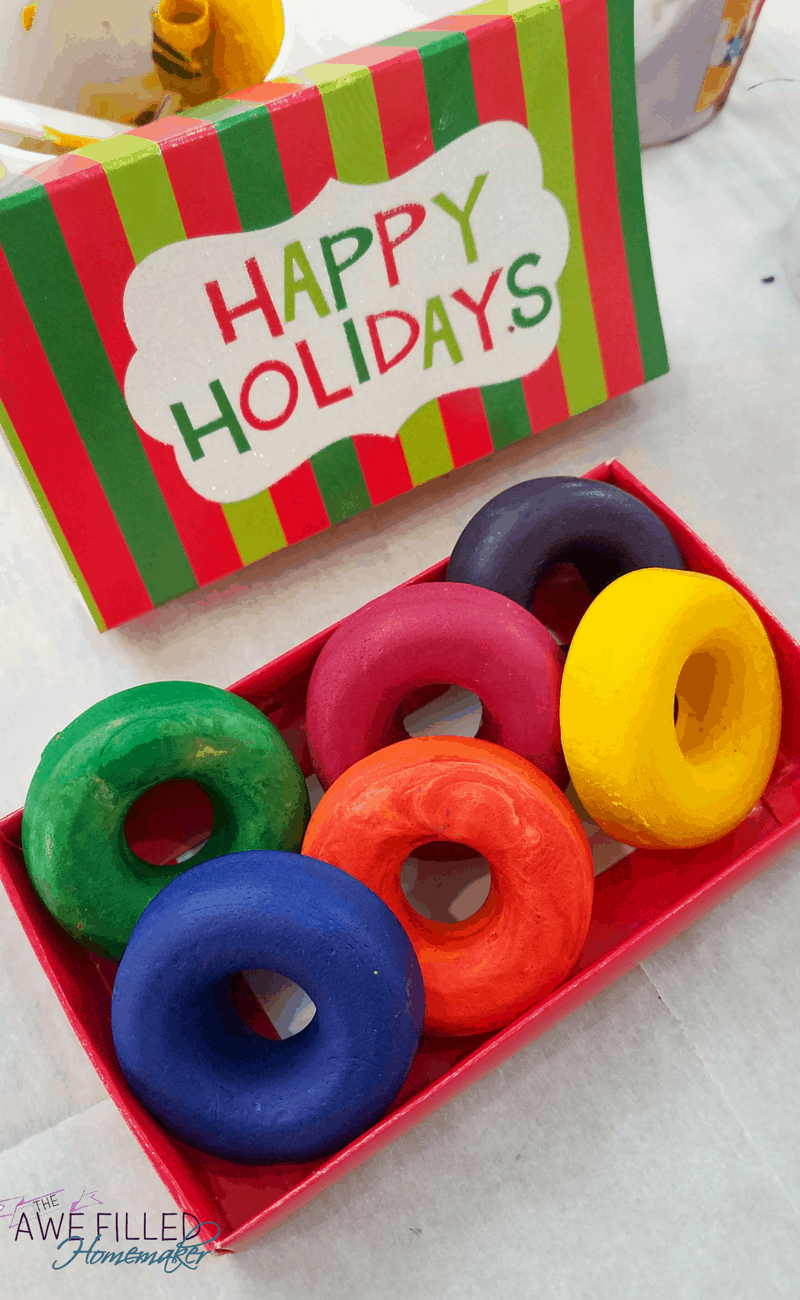
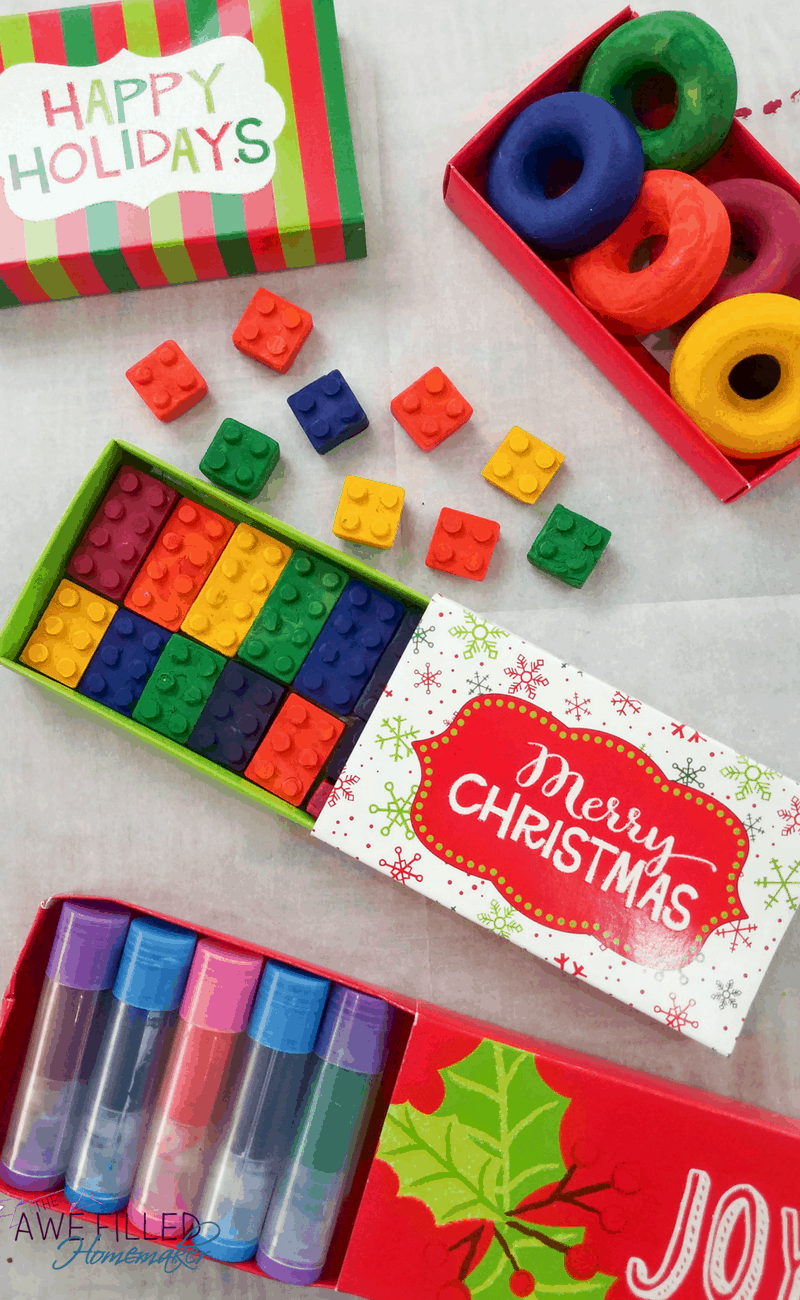
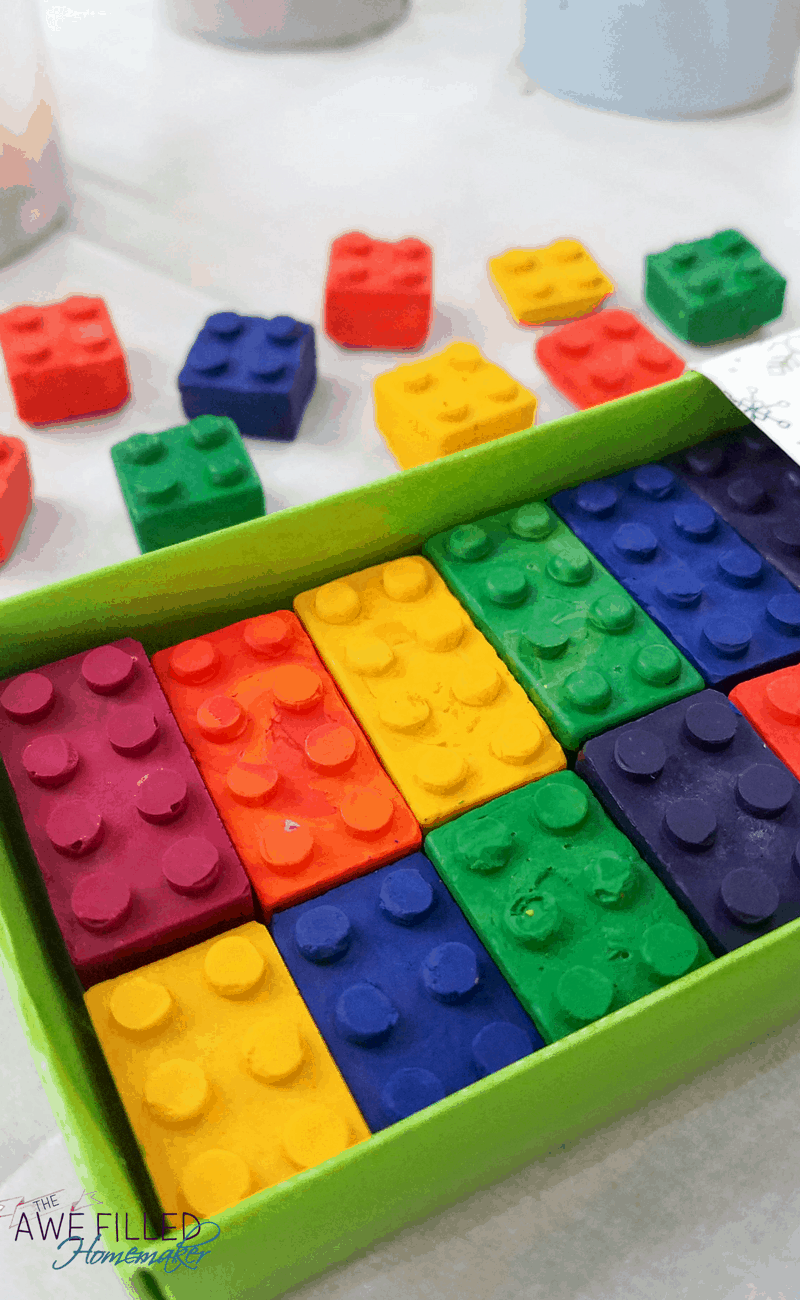
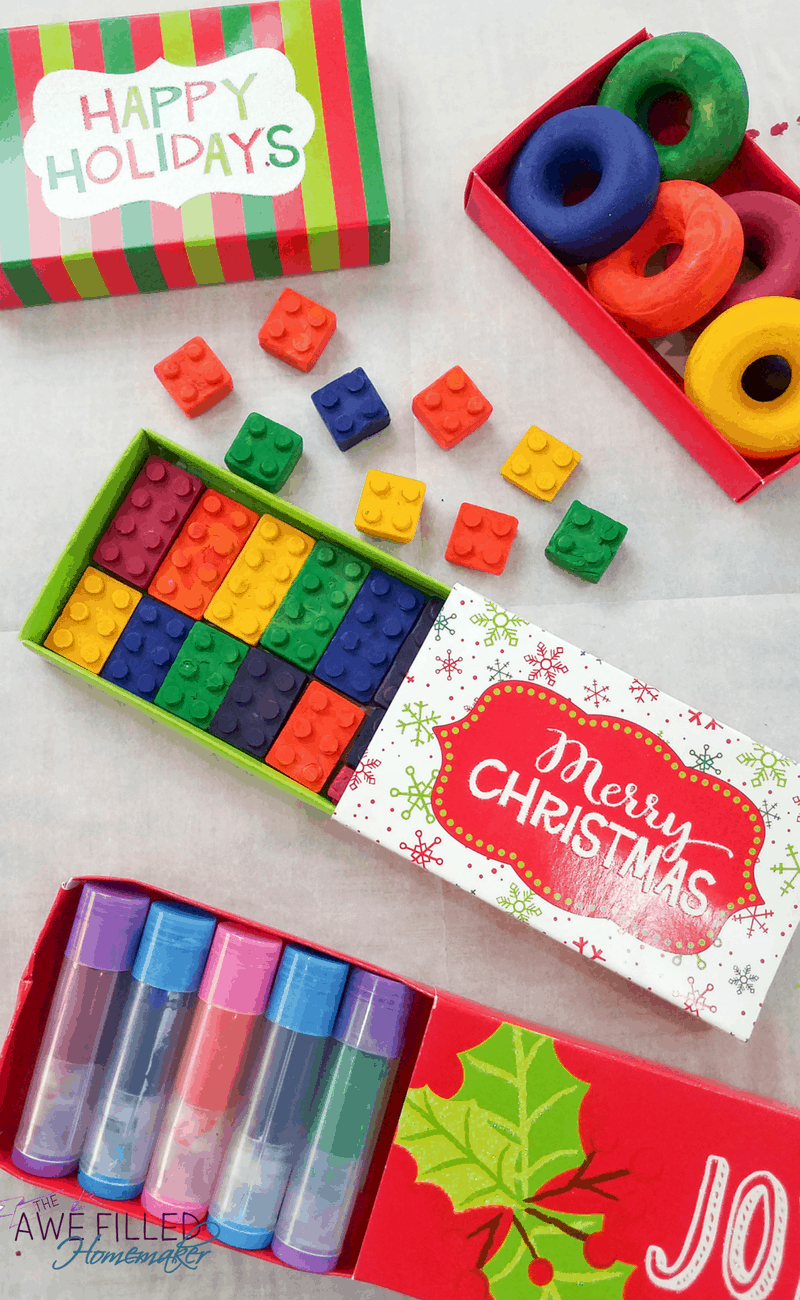
- silicone molds or lip balm containers.
TYH Supplies Set of 12 Candy Molds For Lego Lovers Chocolate Molds Ice Cube Molds Silicone Baking Molds Premium Silicone Molds – Building Blocks and Robots (12)
SILICONE MOLD-DOUGHNUTeBoot 50 Pieces Lip Balm Empty Container Clear Tubes with Twist Bottom and Top Cap, 3/ 16 Oz (5.5 ml) (Multicolor) - popsicle sticks
- parchment paper


Acerich 200 Pcs Craft Sticks Ice Cream Sticks Wooden Popsicle Sticks 4-1/2

Directions
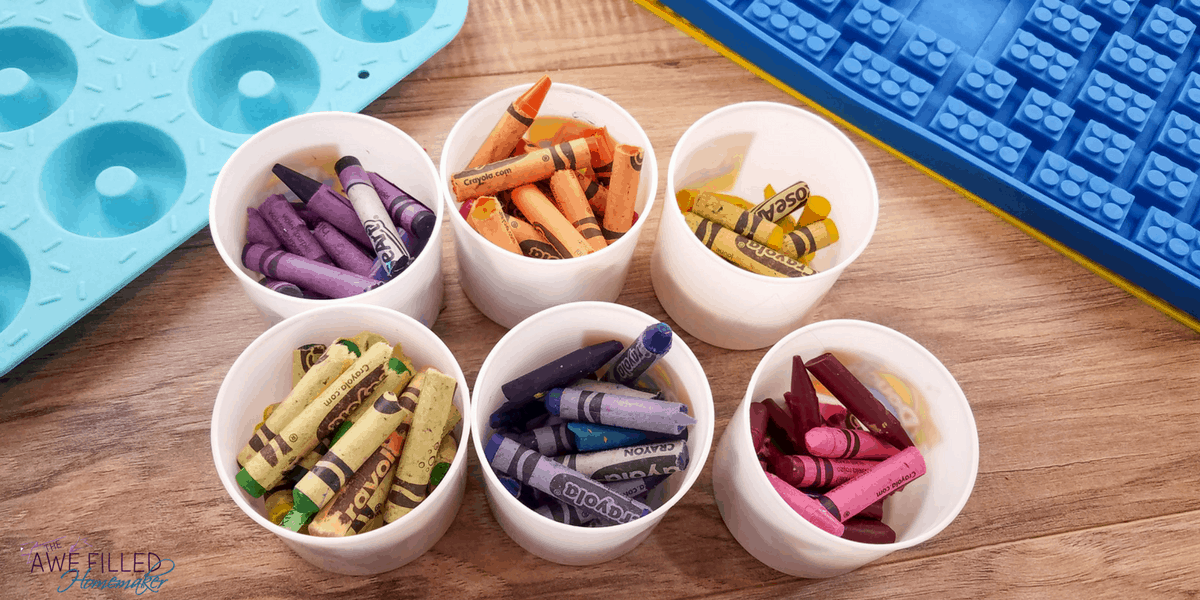
1) The first thing you want to do is color sort the crayon pieces into individual cups. I mixed different shade of the same color, but you could sort the shades also.
2) Next you will place 1 cup water in the Instant Pot insert and place a trivet or steam basket at the bottom. Place the cups full of crayons on the trivet and cover with a cloth kitchen towel.
I recommend using a towel you won’t miss just in case.

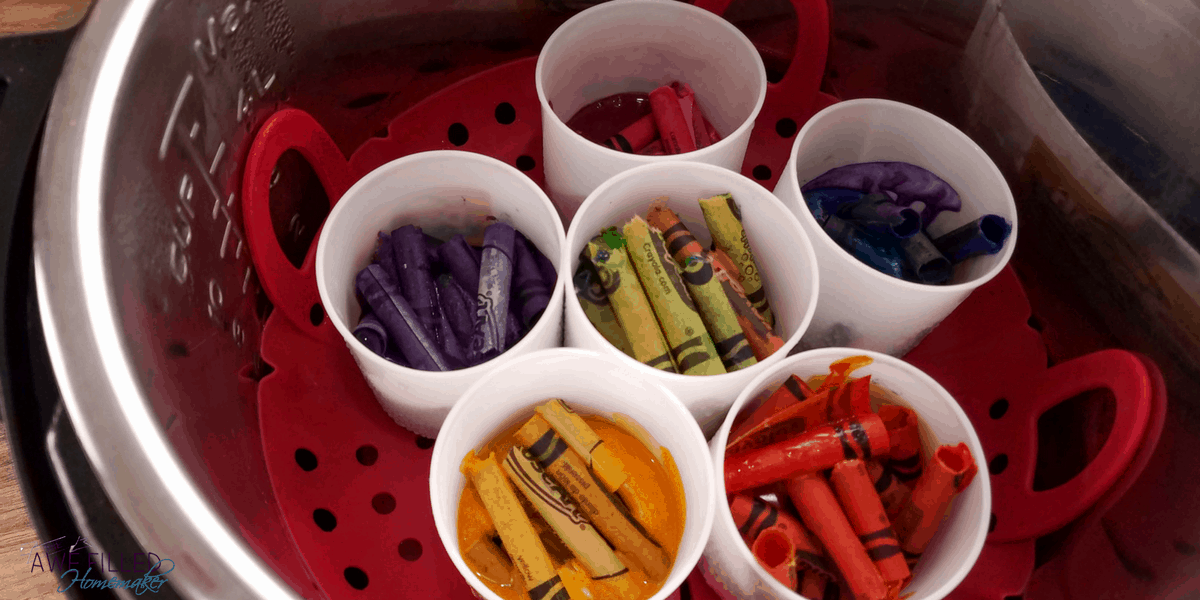
3) The third step is simply locking the lid into place and turn the sealing valve to seal. You will want to melt the crayons using the steam button for 2 minutes, let the pressure release naturally.
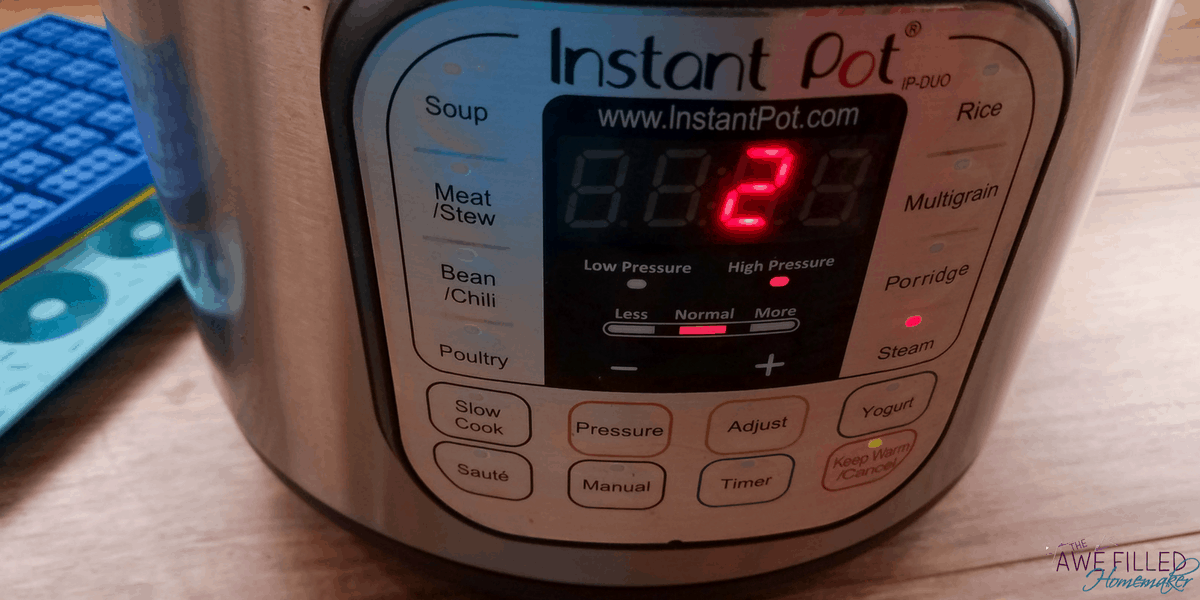
Remove the lid and select the Keep Warm feature on the Instant Pot.
4) After step three is completed, remove the cups one at a time to fill the molds or lip balm containers. The crayon wrappers will float on the top of each cup. Use the popsicle stick to push to the side while pouring.
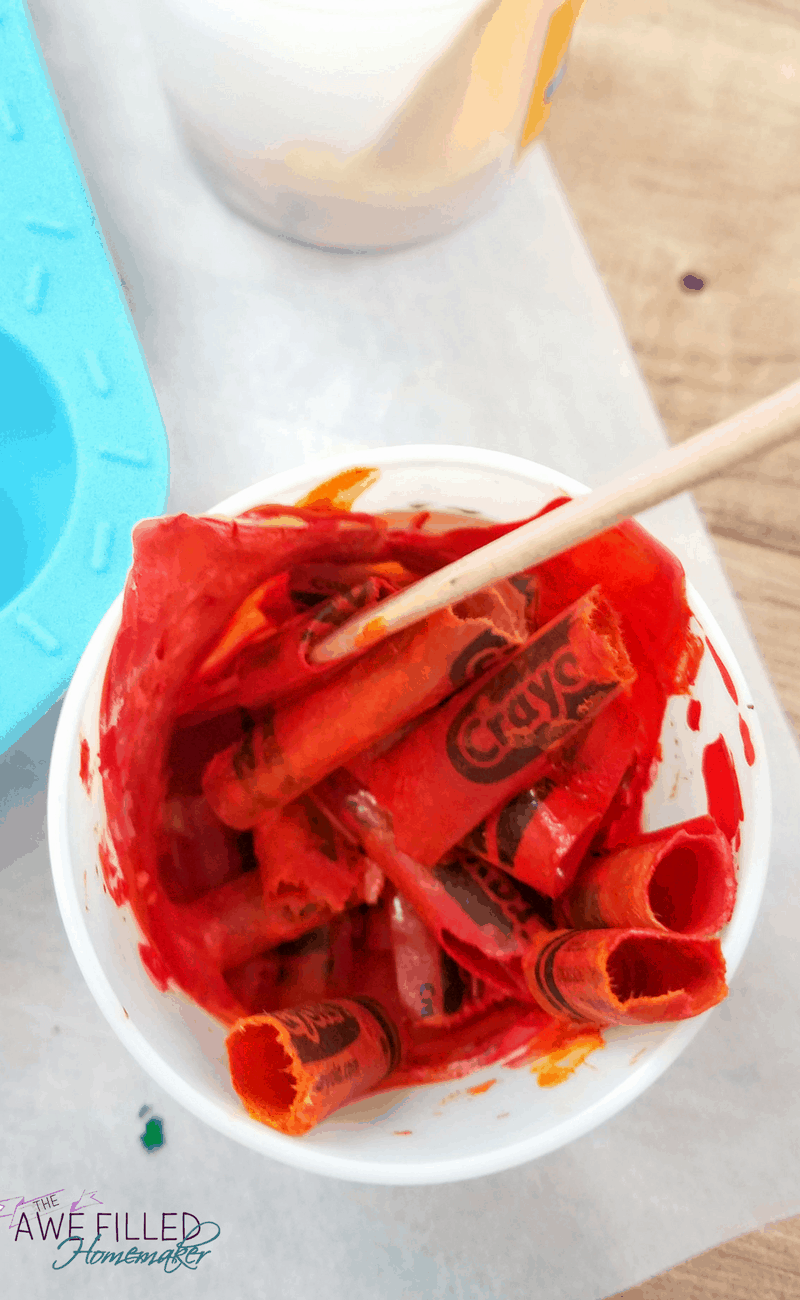
Let the crayons cool completely and then pop out of the mold.
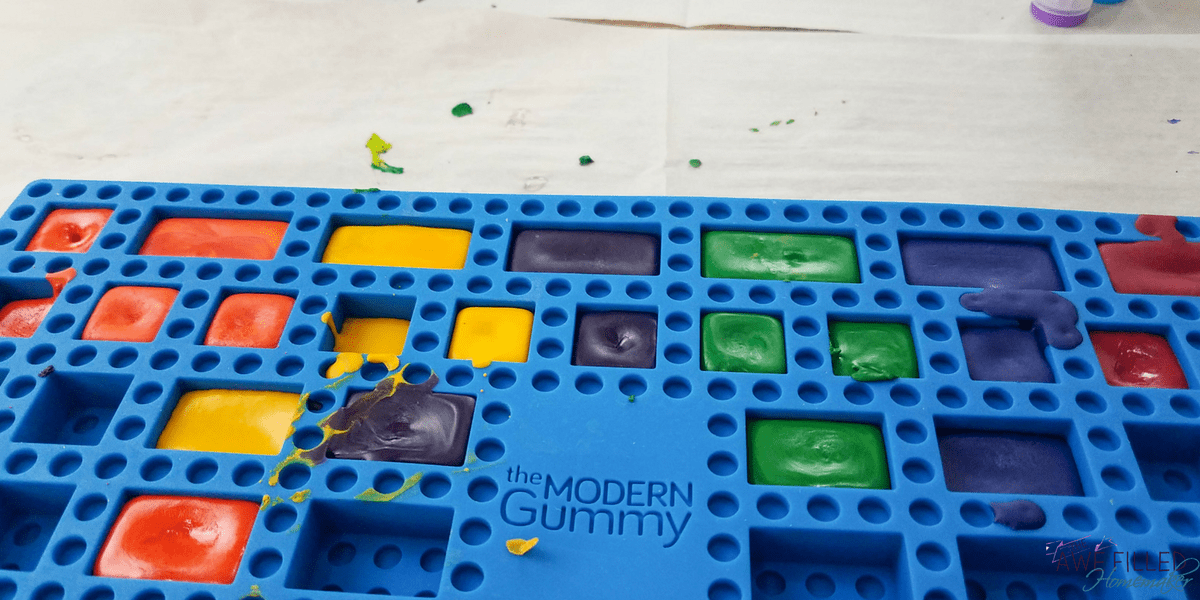


Notes:
– I used empty play dough containers. I tested them in the microwave first to make sure they wouldn’t melt and ruin in my Instant Pot.
Don’t use a container that would melt in the dishwasher or microwave. You could also use glass jars like empty baby food containers.
– My towel didn’t stain, but it didn’t dip into the crayon either. Be sure to use an old cloth towel to absorb the condensation just in case.
– To easily clean the mold, I popped them in the microwave for 30 seconds then whipped the crayon off with a paper towel before washing with hot soapy water.
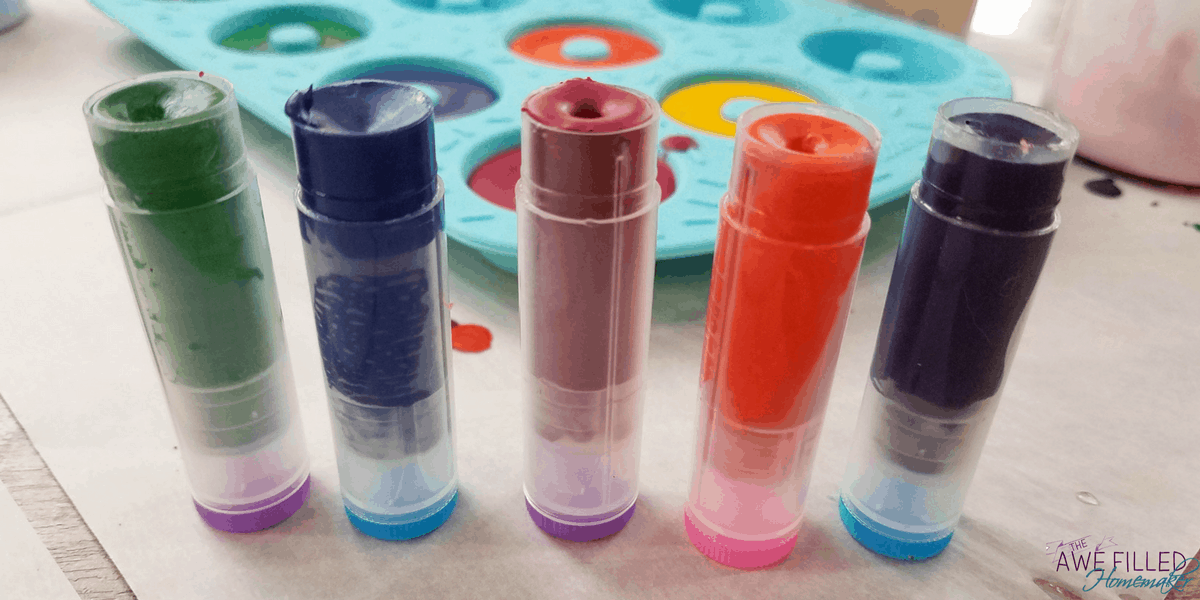
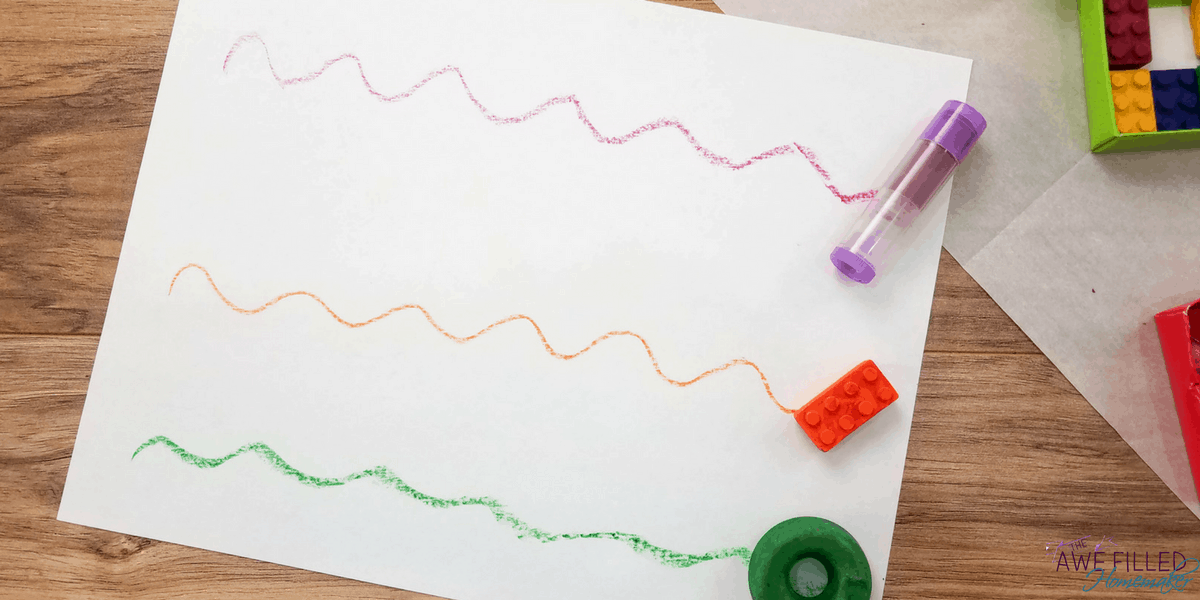
– The crayons in the lip balm container is perfect for on the go coloring. You can twist it out a little at a time and then cap it so that they don’t get all over the place.
No worrying about the crayons breaking or coloring something inside your bag.
Enjoy!!!
Don’t Forget to Print Out The Directions For Later!

DIY Instant Pot Crayons
If you are crafty, have kids, or would like to make your own DIY crafts for gifts or your own use, here is how I did it!!!
Materials
- small plastic cups like kid cups from restaurants or playdough containers
- broken crayons (no need to remove the paper)
- silicone molds or lip balm containers
- popsicle sticks
- parchment paper
Instructions
- Color sort the crayon pieces into individual cups. I mixed different shade or the same color, but you could sort the shades too.
- Place 1 cup water in the Instant Pot insert and place a trivet or steam basket at the bottom. Place the cups full of crayons on the trivet and cover with a cloth kitchen towel, use a towel you won't miss just in case.
- Place 1 cup water in the Instant Pot insert and place a trivet or steam basket at the bottom. Place the cups full of crayons on the trivet and cover with a cloth kitchen towel, use a towel you won't miss just in case.
- Remove the cups one at a time to fill the molds or lip balm containers. The crayon wrappers will float on the top of each cup, use the popsicle stick to push to the side while pouring. Let the crayons cool completely and them pop out of the mold.
Notes
- I used empty play dough containers, I tested them in the microwave first to make sure they wouldn't melt and ruin in Instant Pot. Don't use a container that would melt in the dishwasher or microwave. You could also use glass jars like empty baby food containers.
- My towel didn't stain, but it didn't dip into the crayon either. Be sure to use an old cloth towel to absorb the condensation just in case.
- To easily clean the mold, I popped them in the microwave for 30 seconds then whipped the crayon off with a paper towel before washing with hot soapy water.
- The crayons in the lip balm container is perfect for on the go coloring. You can twist it out a little at a time then cap it so that they don't get all over the place. No worrying about the crayons breaking or coloring something inside your bag.


